
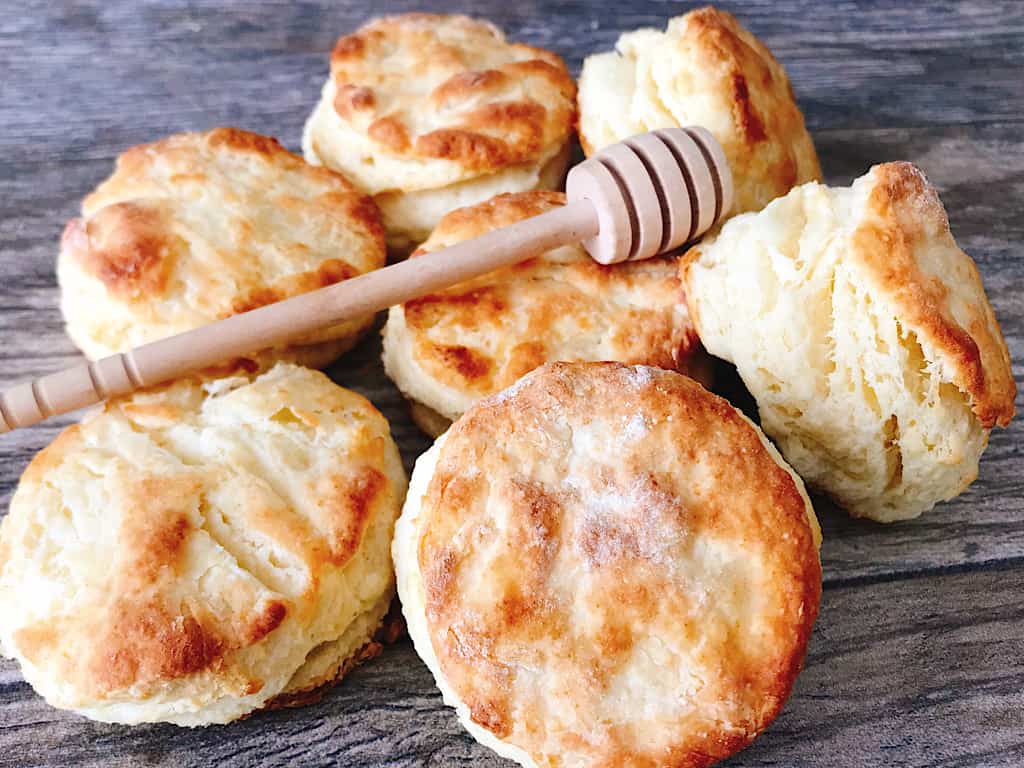
These Honey Butter Biscuits are the epitome of buttery perfection, with a golden flaky exterior that gives way to a soft and fluffy interior. The combination of sweet honey and tangy buttermilk adds a delightful depth of flavor, making every bite a heavenly experience. Best of all, these mouthwatering biscuits can be prepared in just 20 minutes, making them the ideal treat for breakfast or any time you’re in need of a warm and comforting snack. Whether enjoyed on their own or paired with your favorite spreads, these Yummy Honey Buttermilk Biscuits are sure to become a family favorite that will have everyone asking for seconds.
This post may contain affiliate links. When you click on these links, I get a small percentage back at no cost to you! For more information see my disclosure policy.
Below you will find tips, tricks and helpful hints for making this recipe including step by step instructions with pictures. If you would like to go directly to the recipe, scroll down to the recipe card or tap “Jump to Recipe” at the top of the page.
Why You’ll Love This Honey Butter Biscuit Recipe
These Honey Buttermilk Biscuits are not only easy to make, but they’re also full of flavor. The combination of honey and buttermilk gives these biscuits a unique sweet and tangy taste that is sure to please the whole family.
The addition of butter creates a tender texture and adds an irresistible buttery flavor. Because the butter is kept cold, the biscuits will have a light and flaky texture that truly sets them apart from other biscuit recipes.
These biscuits are so versatile, they can be enjoyed on their own or paired with your favorite spreads. Whether you prefer jam, a pat of butter, whipped honey butter, or even gravy – these homemade honey butter biscuits are sure to satisfy every time! If you’re looking for a more savory recipe, try these Jalapeno Cheddar Biscuits.

The Secret to Perfect Biscuits
Have you ever had biscuits that weighed as much as a brick, were as hard as a hockey puck, or crumbled when you took a bite? I have, and it wasn’t good.
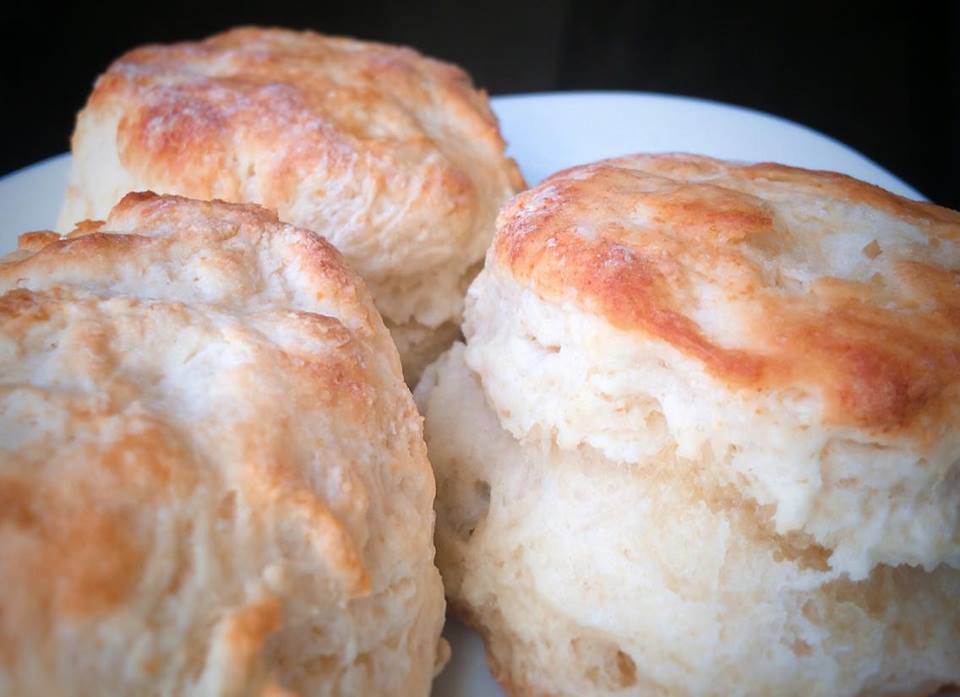
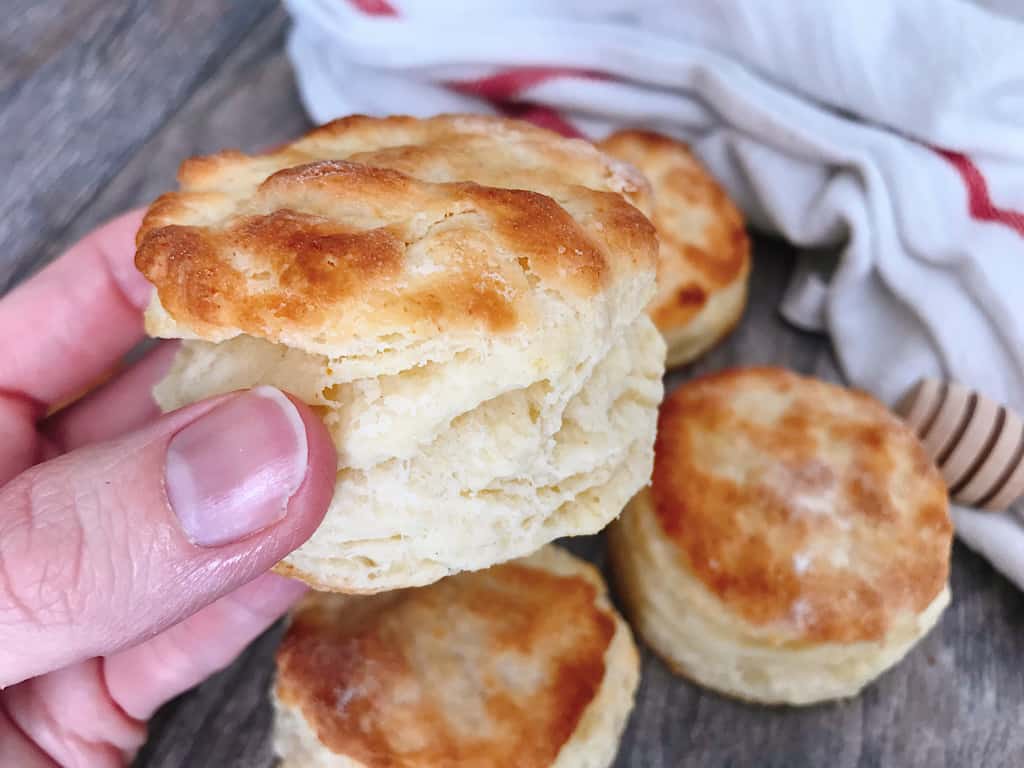
These biscuits are the total opposite. They are absolutely perfect. The way to get perfectly, flaky biscuits is cold butter. Using ice cold butter in your biscuit dough, helps give each bite a buttery explosion, and it is amazing!

Honey Buttermilk Biscuit Ingredients
*Ingredient amounts are located in the recipe card at the end of this post.
Flour: For these biscuits, you will need standard all-purpose flour found on the baking aisle at your local grocery store.
Sugar: This recipe calls for a bit of sugar, just enough to add a touch of sweetness.
Salt: Salt helps to bring out the flavor in these biscuits and adds an extra dimension to each bite.
Baking Powder & Cream Of Tartar: The combination of baking powder and cream of tartar gives these biscuits their rise.
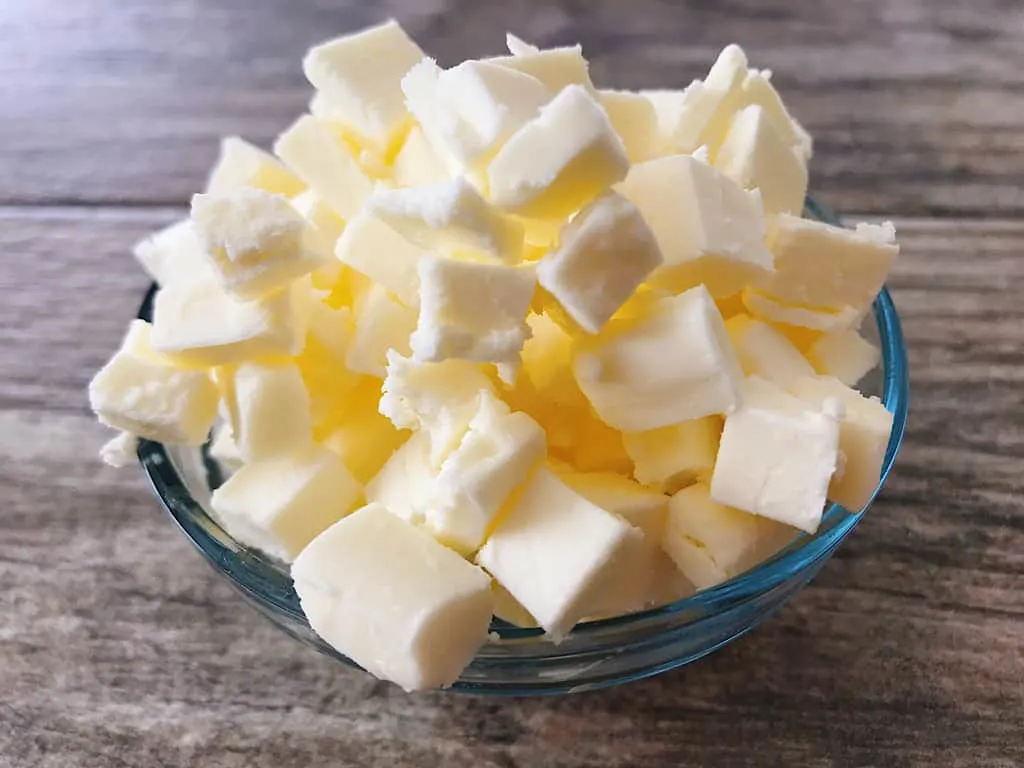
Butter: Butter is essential to the texture of these biscuits. It should be cold, almost frozen butter, when you add it to the dough, which helps create a flaky texture. Use salted or unsalted butter.

Honey: The addition of honey gives these biscuits their sweet flavor and adds a touch of moisture, making them even more delicious.
Egg & Buttermilk: These two ingredients help bind the biscuits together and give them a moist texture.
How to Make Honey Butter Biscuits
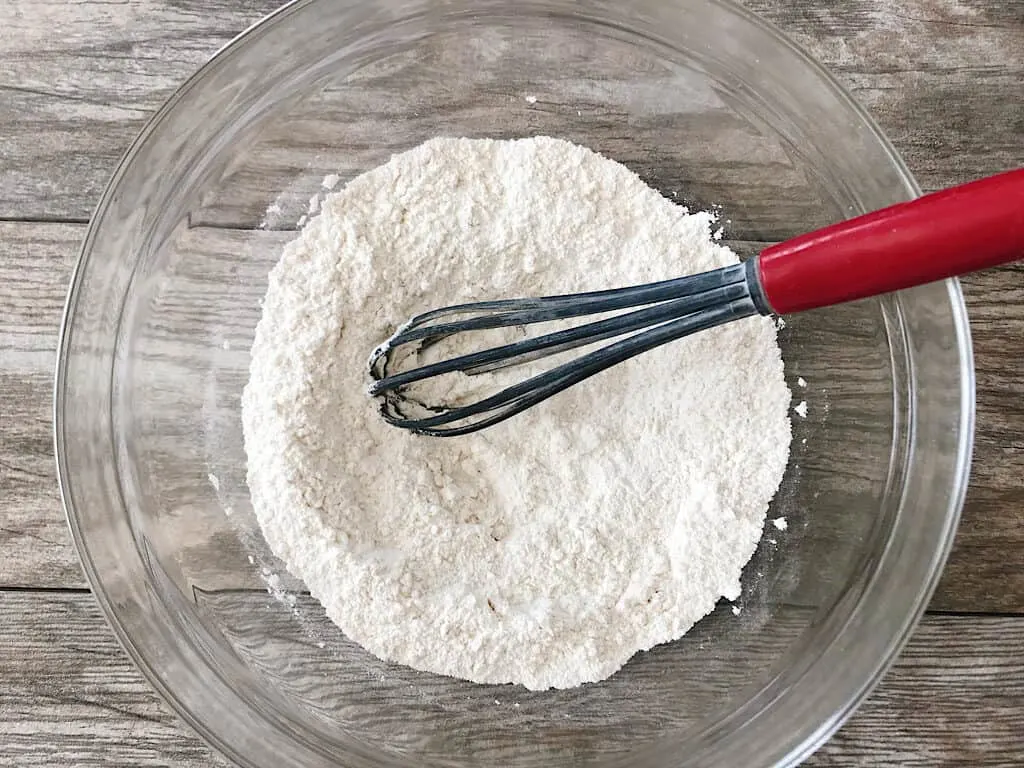
[Step 1] Prepare the butter by cutting it into small cubes, or using a box grater, and putting it in the freezer until called for in the recipe. Preheat the oven to 450 degrees. Mix all of the dry ingredients, flour sugar, salt, baking powder, and cream of tartar, together in a large bowl.

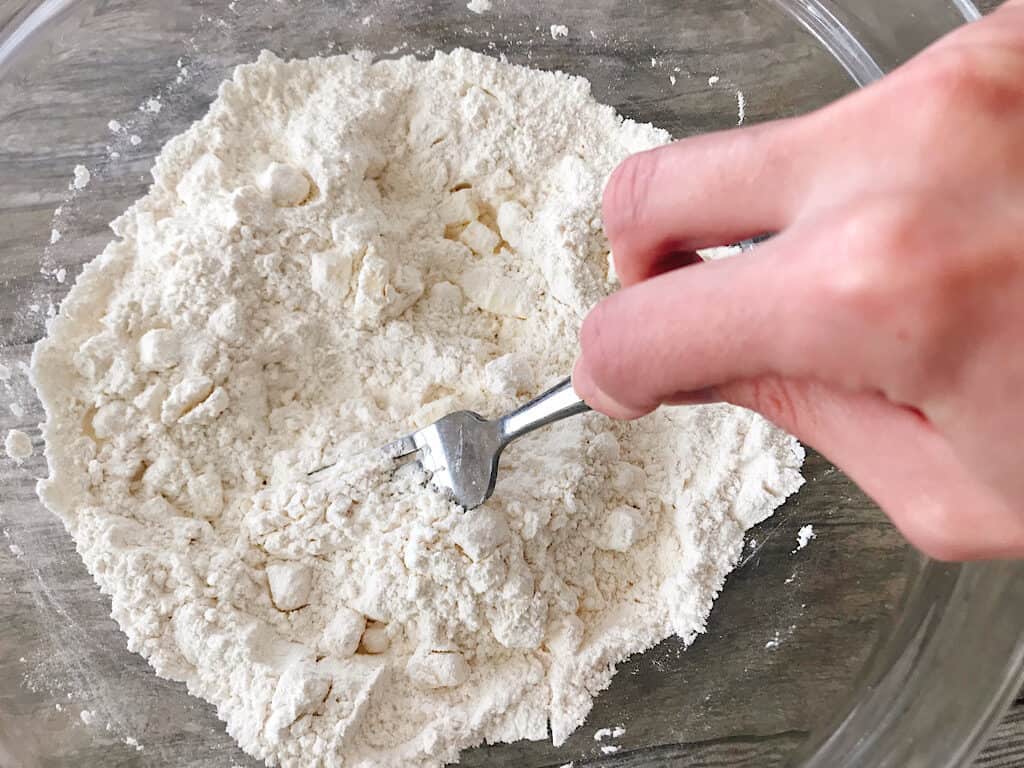
[Step 2] Cut the butter in by using a pastry blender, a whisk, or a food processor. Whichever tool you use, make sure you break up the butter into small chunks.

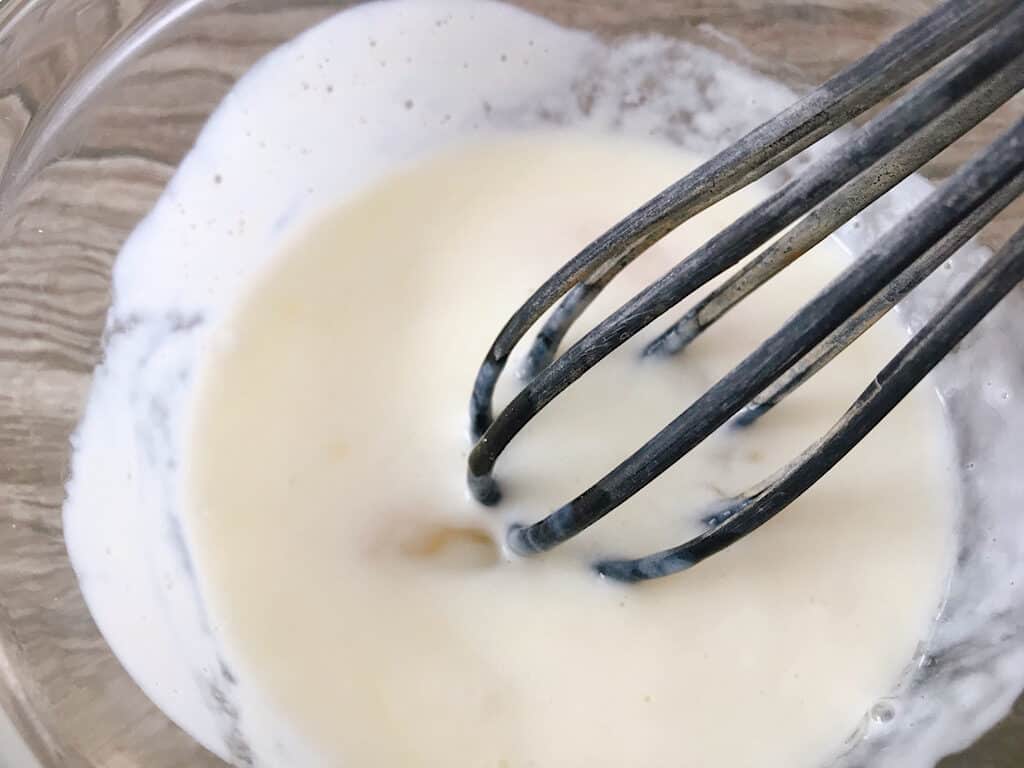
[Step 3] In a separate bowl, whisk the honey, egg and buttermilk together. I like to heat the honey up in the microwave for 10-15 seconds. Doing this makes the honey easier to mix in. If you don’t have buttermilk, you can make a quick substitute by adding a tablespoon of white vinegar to a measuring cup and filling to the one cup line with regular milk.

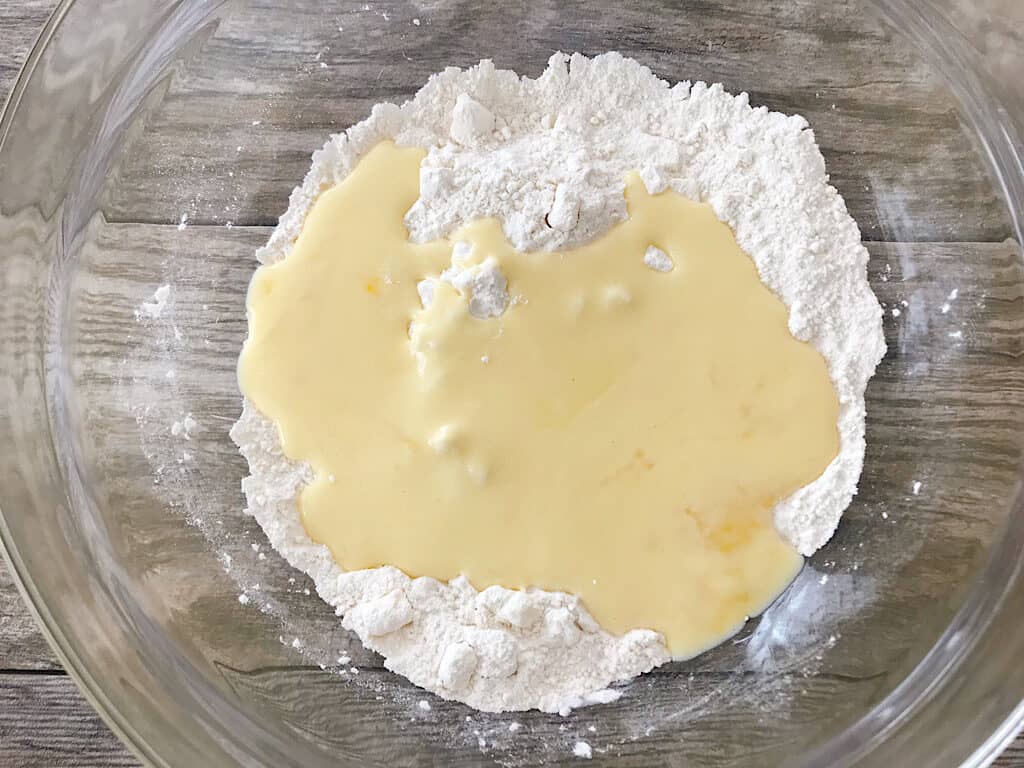
[Step 4] Add the wet ingredients to the flour mixture and mix until just moistened.

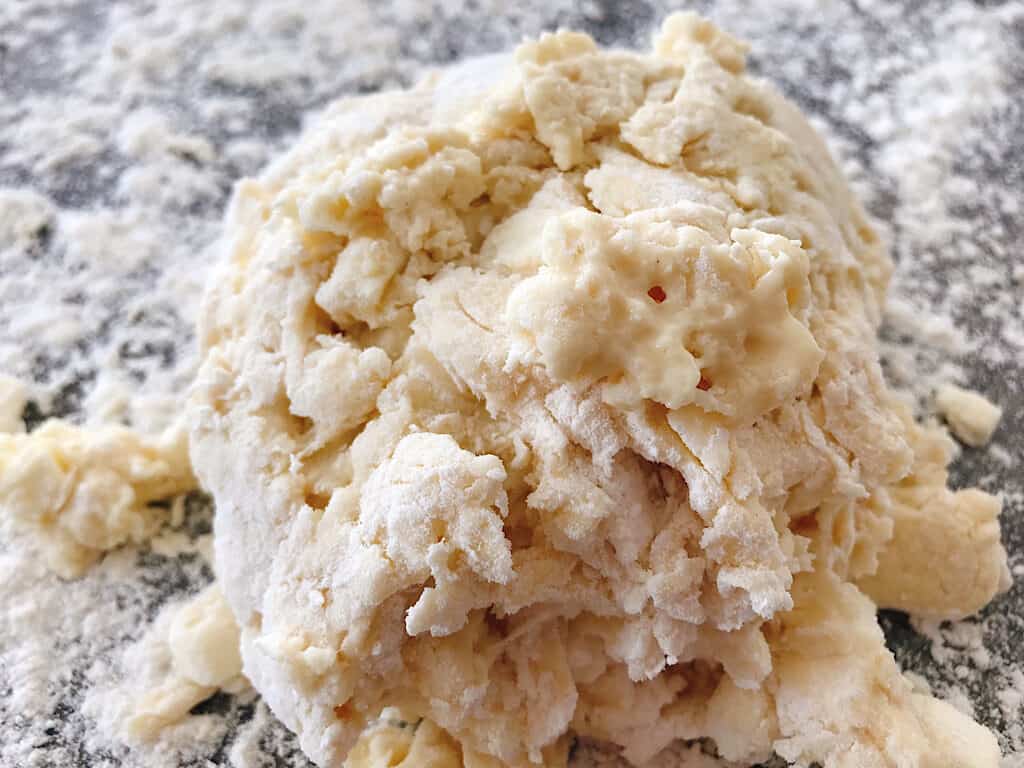
[Step 5] Place the dough on a floured surface and knead a couple of times. Pat the dough out to 1 inch thick rectangle.

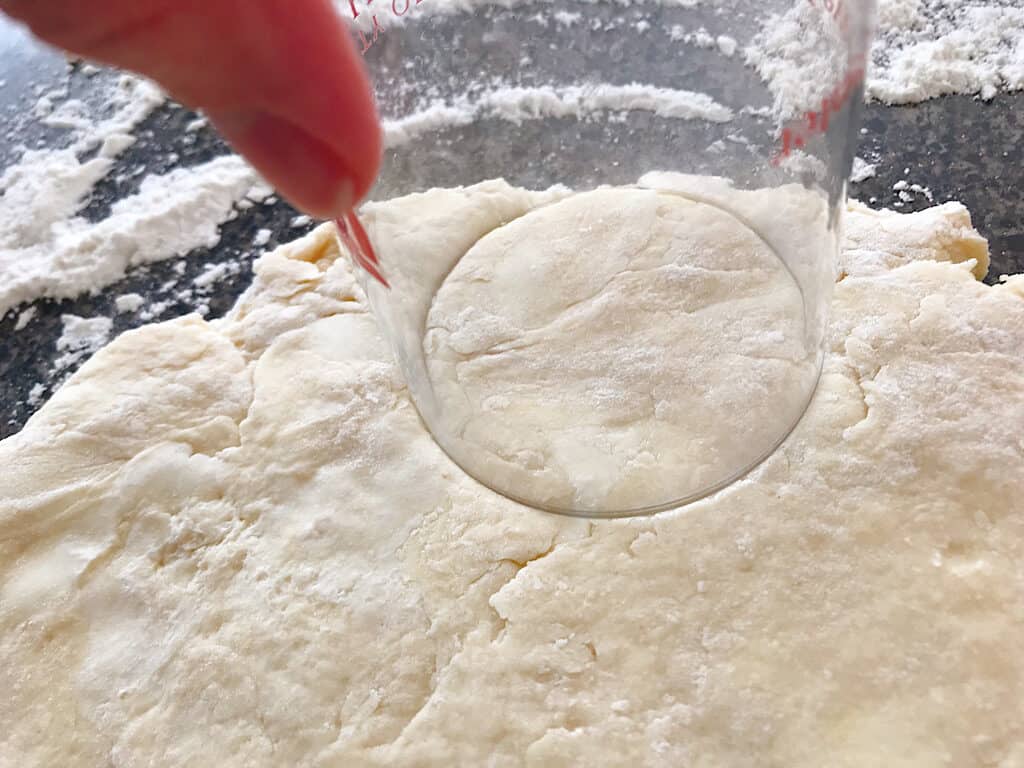
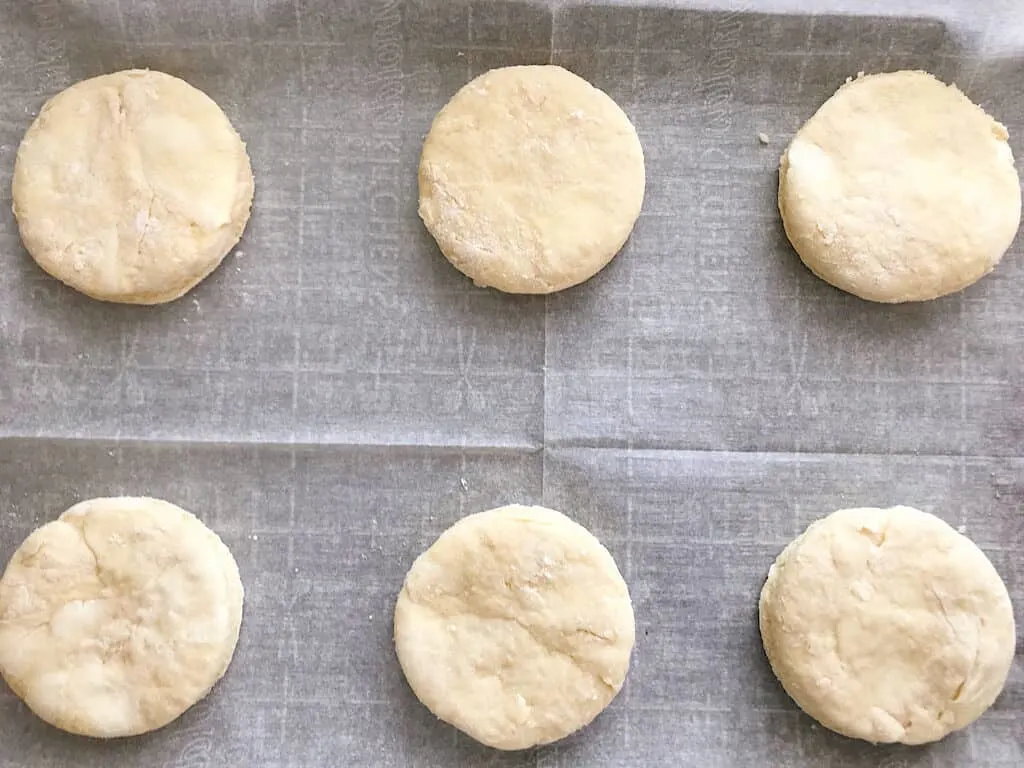
[Step 6] Use a cup or a biscuit cutter to cut out the biscuits.

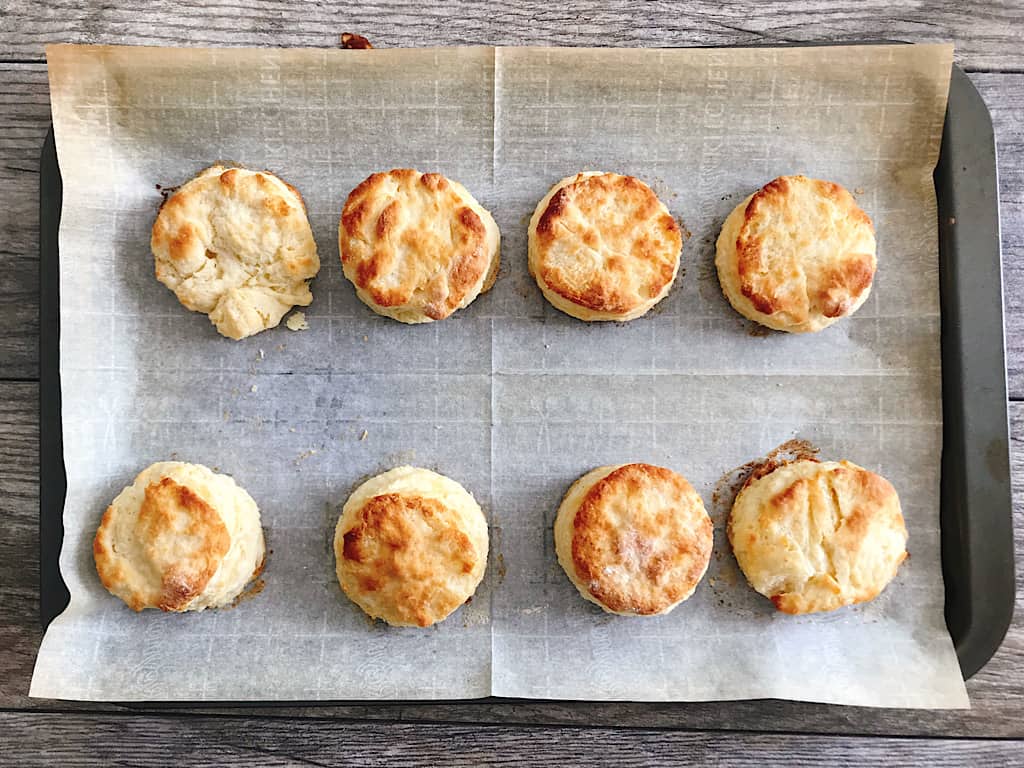
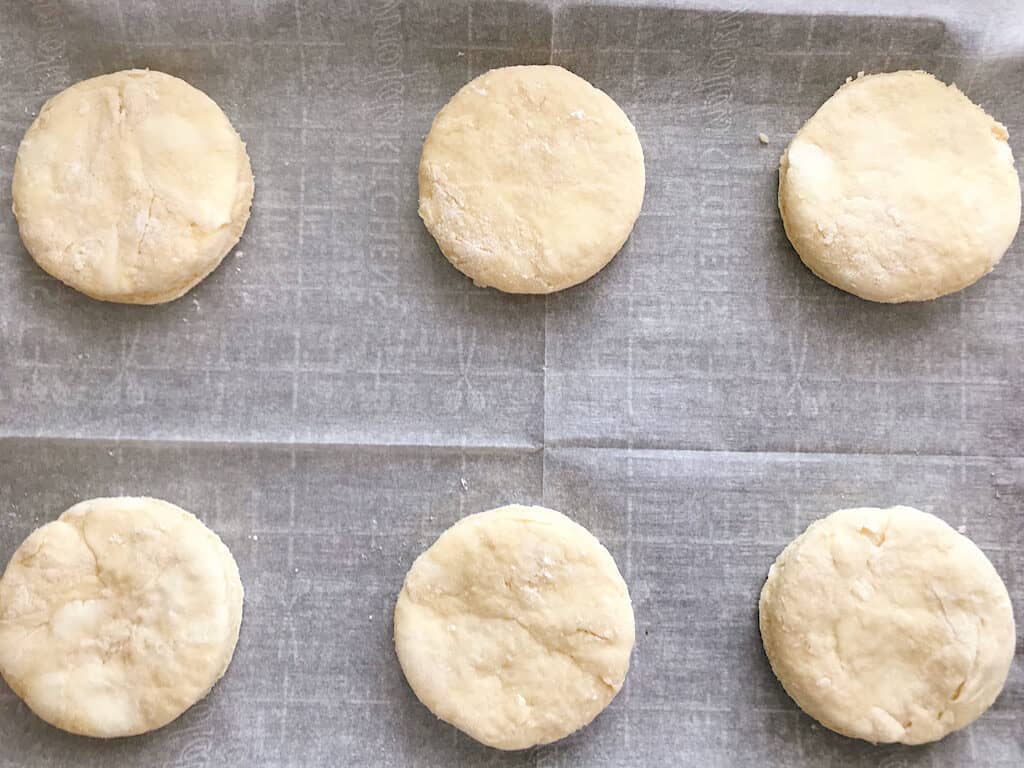
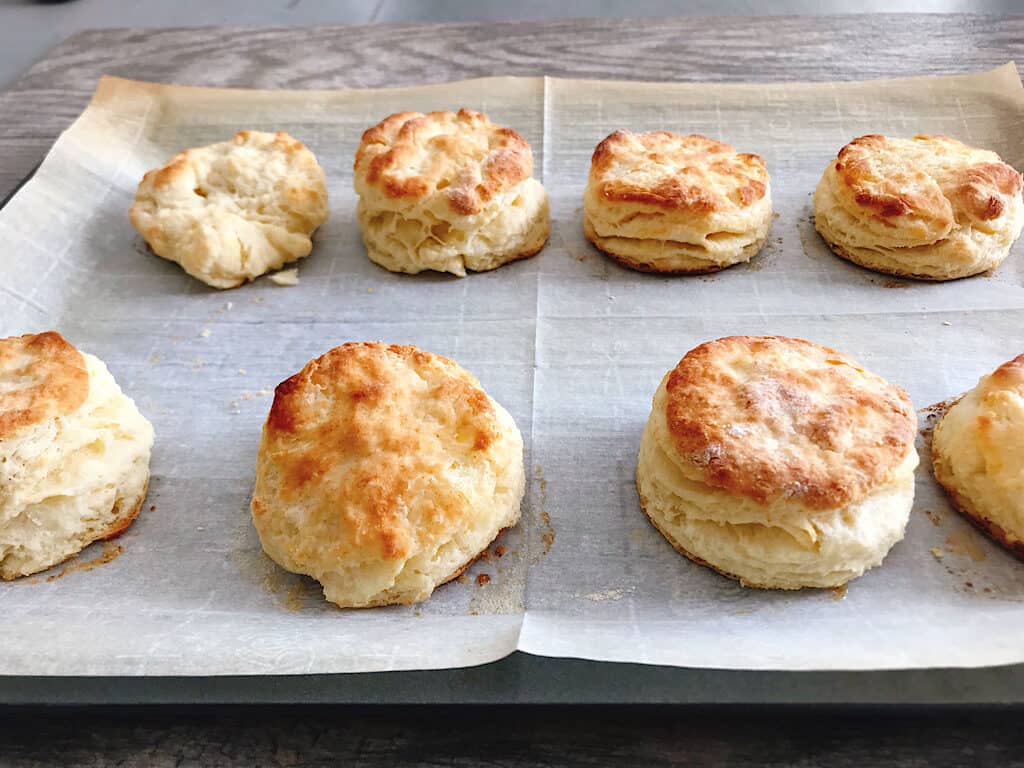
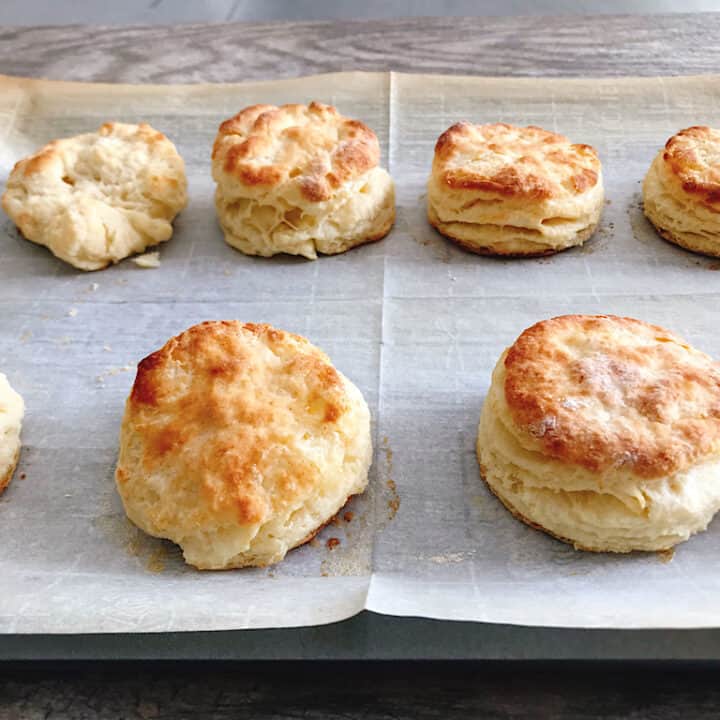
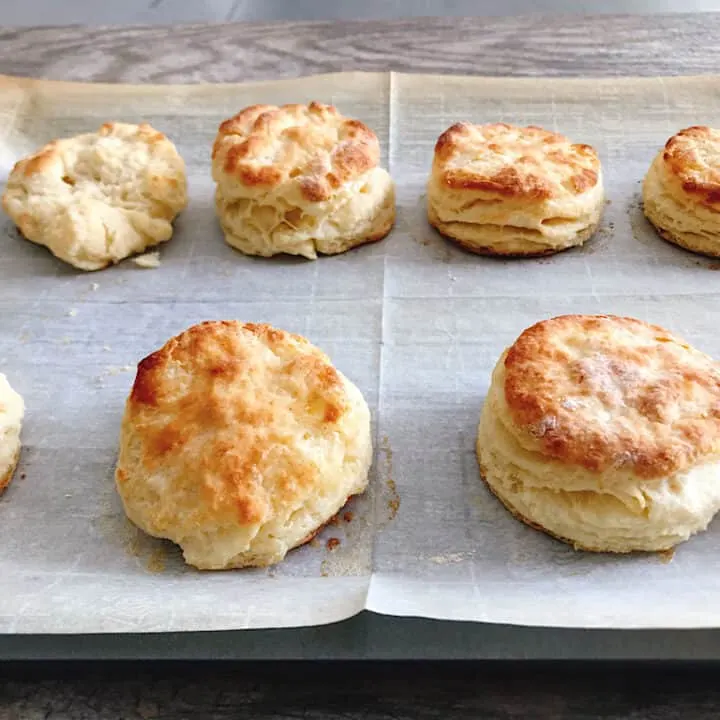
[Step 7] Place the biscuits on a parchment paper covered baking sheet and bake for about 10-12 minutes until they are golden brown.
[Step 8] Remove the baked biscuits from the oven and let them cool for 1-2 minutes. Brush the tops of the biscuits with melted butter if desired.

Helpful Kitchen Tools:
- Mixing Bowls
- Pastry Cutter
- Whisk
- Food Processor
- Biscuit Cutter
- Baking Sheet
How to Store & Freeze Biscuits
These biscuits are best served warm and enjoyed the same day. However, if you have leftover biscuits, they can be stored in an airtight container at room temperature for up to 3 days.
Biscuits can also be frozen for up to 2 months. To do this, wrap each biscuit tightly with plastic wrap and place them in a freezer safe bag. When ready to eat, defrost the biscuits in the refrigerator overnight and then warm them up in a 350°F oven for 5-10 minutes before serving. Enjoy!
What to Serve with Buttermilk Biscuits
Biscuits & Gravy Casserole: These biscuits would make the perfect homemade addition to my biscuits & Gravy casserole. Get the recipe here.
Oven Fried Chicken: I love serving these biscuits with my oven fried chicken. Get the recipe here.
Strawberry Jam: A dollop of strawberry jam on top of a warm biscuit is heavenly! Try this 3-Ingredient Strawberry Compote here.
Whipped Honey Butter: If you’re looking for something a bit sweeter, try topping the biscuits with a whipped honey butter. It’s incredibly delicious. Get the recipe here.
KFC Mashed Potatoes and Gravy: Who doesn’t love a good serving of KFC mashed potatoes and gravy on the side? Get the Recipe here.
Perfect Scrambled Eggs: For breakfast, brunch, or even dinner try these perfectly fluffy and creamy scrambled eggs. Get the recipe here.

Baking Tips & Tricks for Honey Biscuits
- Don’t over mix! Over mixing the dough will create tough biscuits.
- Make sure your butter is cold! The key to a light and fluffy biscuit is using cold butter. If the butter melts during the process, it will create dense biscuits.
- Knead the dough lightly before patting out. Doing this helps make the biscuits more tender.
- Use a biscuit cutter for perfectly shaped biscuits. You can also use a cup or a glass to cut circles in the dough if you don’t have a biscuit cutter handy.
- Let your biscuits cool before adding any toppings such as butter or jam. Doing this prevents them from becoming soggy and allows all the flavors to settle.
- If you’re freezing your biscuits, make sure to wrap them tightly with plastic wrap or place in a sealed bag. This ensures that they don’t become freezer burnt.
Final Thoughts
These Honey Buttermilk Biscuits are the perfect addition to any breakfast or brunch spread. Sweet, fluffy and tender – they are sure to be a hit with your family and friends! So, what are you waiting for? Get baking this homemade biscuits recipe and enjoy!
More Delicious Baking Recipes To Try:
Honey Buttermilk Biscuits
These Honey Butter Biscuits are the epitome of buttery perfection, with a golden flaky exterior that gives way to a soft and fluffy interior. The combination of sweet honey and tangy buttermilk adds a delightful depth of flavor, making every bite a heavenly experience.
Ingredients
- 3 Cups All-Purpose Flour
- 3 Tablespoons Sugar
- 1/2 Teaspoon Salt
- 4 Teaspoons Baking Powder
- 1/2 Teaspoon Cream of Tartar
- 3/4 Cup Butter, COLD, cubed
- 1 Tablespoon honey
- 1 Egg
- 1 Cup Buttermilk
Instructions
- Preheat oven to 450 degrees.
- Cut butter into small cubes and stick in the freezer until ready to use.
- Whisk dry ingredients together in a bowl.
- Cut in butter using a pastry blender or a fork. Make sure you can see the chunks of butter.
- Whisk milk, egg and honey together.
- Add milk mixture to the dry ingredients just until combined.
- Place the dough on a floured surface and sprinkle flour on top of the dough.
- Knead a few times. Add more flour if necessary.
- Pat the dough out to about 1 inch thickness.
- Cut biscuits with the top of a cup or glass.
- Place the biscuits on a parchment covered baking sheet and bake for 10-12 minutes or until golden brown.
Notes
Use a whisk to cut in the butter if you don't have a pastry blender. Heat the honey in the microwave before incorporating into the wet ingredients. Substitute buttermilk with one tablespoon vinegar and milk filled to the one up line.
Helpful Items for this Recipe:
Nutrition Information:
Yield: 10 Serving Size: 1 BiscuitAmount Per Serving: Calories: 298Total Fat: 15gSaturated Fat: 9gTrans Fat: 1gUnsaturated Fat: 5gCholesterol: 56mgSodium: 465mgCarbohydrates: 36gFiber: 1gSugar: 7gProtein: 5g


Jamie
Thursday 8th of March 2018
Ok so I have made these twice. The first time they burned on the bottom but I figured it was simply because I had 2 pans and rotated half way through. But I made them again last night and only did one pan at a time, same temp as the recipe says 450 but I did for 10 mins, opened the oven and again they were burned on the bottom and getting dark on top. So for the second pan last night I turned the oven down to 375 and set the timer for 10 mins. Not only did they not burn but they rose much better than any of the other batches I made. We absolutely love the recipe and will continue to use but cooking at 375. I’ll note that it is a new oven and calibrated correctly.
mindymoser
Wednesday 14th of March 2018
I'm glad you liked them and you able to figure out the right temperature for your oven :)
Chanell
Tuesday 2nd of January 2018
Just made these no substitutions. THEY R THE BOMB!!! We love them so much they R now our new favorite recipe!Thanks for sharing. I did knead these in my bowl with a little flour then formed them with my hands. Less mess N fuss.
mindymoser
Monday 29th of January 2018
I'm glad you liked them!
Gena Ingle
Saturday 14th of October 2017
Super easy... I had never made homemade biscuits before and I made these with ease..
mindymoser
Sunday 15th of October 2017
I'm so glad they worked for you!
Queen
Thursday 24th of August 2017
I just think it should be added to the recipe to add your liquid slowly you may not need it all. If your dough sticks to the bowl or your utensil or hand it's too much liquid. It should just come together and be slightly tacky then add a bit of flour to make it not tacky like a sprinkle or two
mindymoser
Saturday 26th of August 2017
Those are great tips! I will get them added.